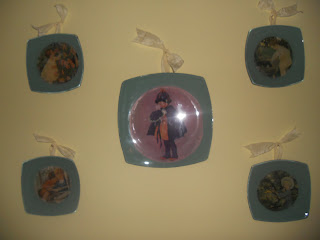
 This one's my favorite:
 To make these you need:
1. clear glass plates (look at thrift stores or the dollar store)
2. pictures or fabric
3. mod podge
4. foam brushes
5. background acrylic paint
6. black acrylic paint
7. plate hanger and ribbon
Clean your plate with soap and water and let it dry. Cut your picture or fabric to match the flat circle in the middle of the plate (a compass, or a bowl or coffee can with the same circumference helps). Put mod podge all over the picture using one of the foam brushes. Put the picture on the back of the plate and smooth out bubbles. Let it dry. Paint over the back of the plate with the background color (mine was green). Let it dry. Paint over the background paint with black paint to give it a finished look. Let it dry. Attach plate hanger and ribbon.
 In a couple months I'm planning to make plates with some vintage Christmas cards I bought on ebay. They will be perfect for Christmas cookies! Only 112 days until Christmas!
I have really enjoyed these plates, but it's time to change things up. My daughter is in preschool now, and we need a place to display her masterpieces (other than our already cluttered refrigerator). I found a cute framed bulletin board at TJ Max and personalized it with fabric, felt and yarn. It was easy to make, and she loves it!

No comments:
Post a Comment